Welcome back to this five-part series on creating loosely coupled data interfaces for Dynamics CRM using RabbitMQ. In my last post I discussed why you would want to incorporate a message broker into your Dynamics CRM data interfaces, and today I will show how to install and configure RabbitMQ to support the examples I’ll be presenting in the rest of the series.
Installation
First, you’ll need to download the installation files from here: http://www.rabbitmq.com/download.html. The RabbitMQ server runs on Windows, Linux, UNIX and Mac OS X, and there are installation guides for each supported platform. Because RabbitMQ is written in Erlang, you will need to install an Erlang VM before you can install RabbitMQ, but there is a download link provided in the installation guide. I set up my RabbitMQ server on a Windows 2012 server, and I was up and running in less than 10 minutes.
Once you’ve installed RabbitMQ and started the server, the easiest way to manage it is via the web-based management interface that’s included with the server distribution. You can enable the management interface with the rabbitmq-plugins tool. Run the following command to enable it: rabbitmq-plugins enable rabbitmq_management.
After the management plugin is enabled, you can access the web management UI from your server at http://localhost:15672. The default username is "guest" with "guest" as the password.
You’ll also need to configure any firewall rules necessary to allow access to your RabbitMQ server if it’s running on a server separate from your Dynamics CRM server. The default port is 5672, but that can be changed if you like. This page discusses RabbitMQ configuration in great detail.
Setting up users, queues and exchanges
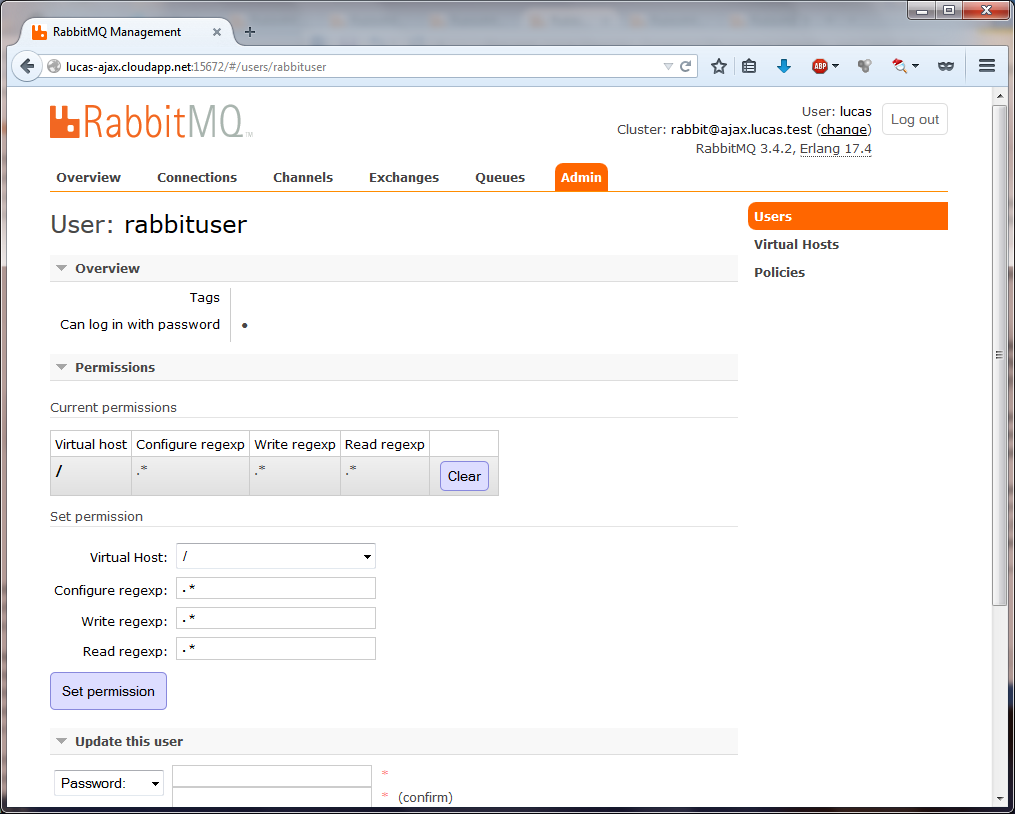
The first thing you should do after the install is complete is change your default guest user password via the management UI. Then you can add additional users as necessary. For the examples in the rest of this series, you’ll need a user with full permissions on the default "/" virtual host. Here is what my "rabbituser" user account looks like:
Next you need to create the entities required to broker the messages between publishers and consumers. Before continuing, I recommend you take a moment to skim this Advanced Message Queuing Protocol (AMQP) overview document. If nothing else, at least read through the "hello, world" example section because it’s a great introduction to concepts that will be important throughout the rest of this series.
Queues
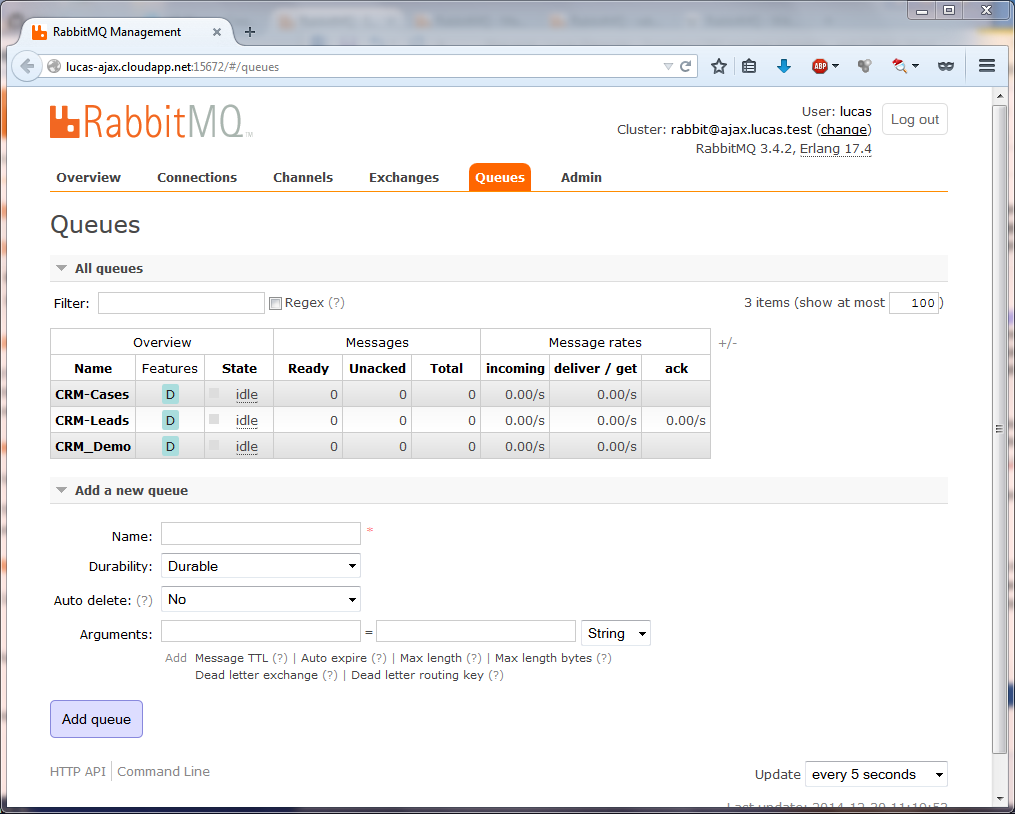
In the management UI, navigate to the Queues tab, and create two new durable queues named CRM-Cases and CRM-Leads. (You can create any queues you want, but my examples in the rest of this series use queues with those names.) The screenshot below shows the queues in my system.
Exchanges
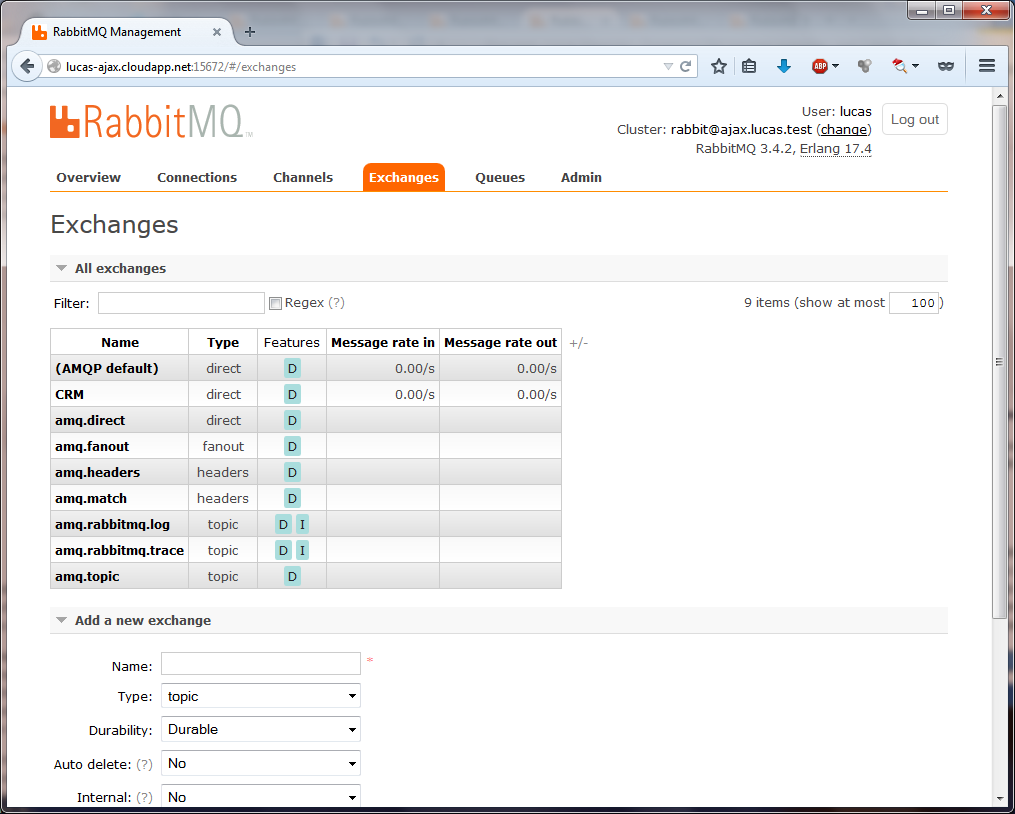
After your queues are created, you can create an exchange and bindings to your queues so messages get routed correctly. Navigate to the Exchanges tab and create a new, durable exchange named CRM. After your CRM exchange is created, you should see something like the screenshot below.
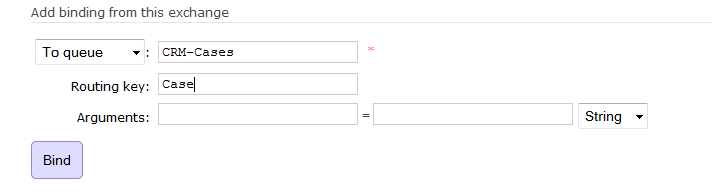
Next, click on the name of the CRM exchange to open its edit screen. Scroll to the "add binding" section toward the bottom of the page and add a binding to the CRM-Cases queue for a routing key value of "Case" live in the following picture and click "bind."
Do the same for the CRM-Leads queue with "Lead" as the routing key. You should then see the two queues bound to the exchange.
Checking the configuration
At this point you should have everything in place to start publishing and consuming messages. You can verify your configuration works with the CliProvider and CliConsumer sample applications included in my GitHub repository as part of the LucasCrmMessageQueueTools solution.
First, build and run the CliProvider application. You will be prompted to supply basic connection details, and then you can type a message to publish to your RabbitMQ server.
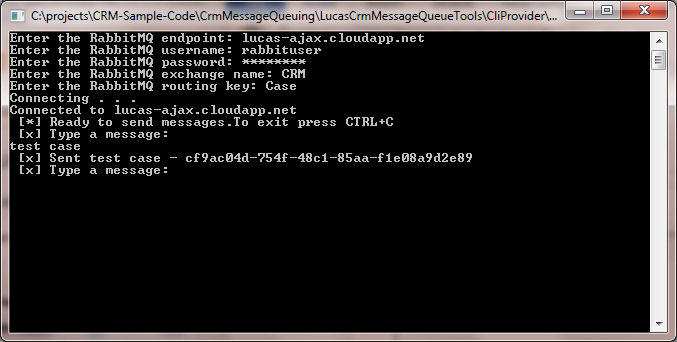
Once the message has been published, you can verify there’s a message waiting in the correct queue on the Queues tab of the management UI.

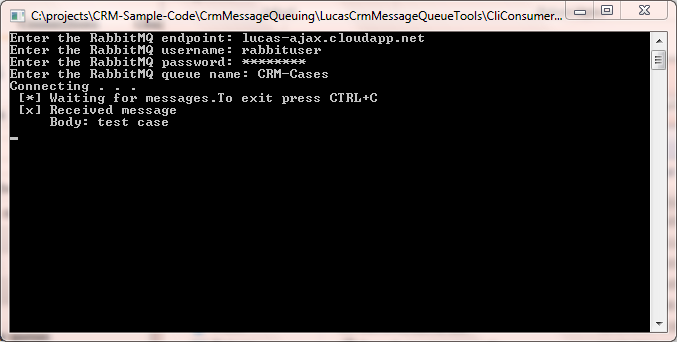
Next, build and run the CliConsumer application. Once it connects to the CRM-Cases queue, the message will be retrieved and displayed.
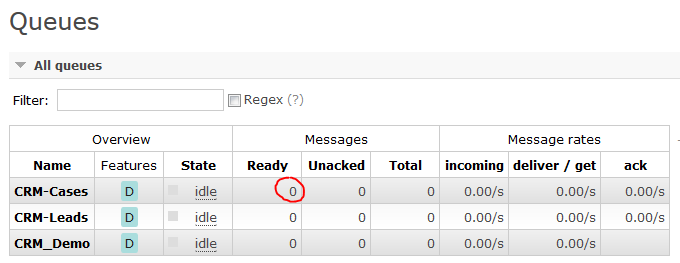
When the CliConsumer application processes a message, it sends a confirmation back to queue that triggers removal of the message from the queue. You can check the Queues tab in the management UI to verify that the CRM-Cases queue is empty.
Wrapping up
That’s it for today. Your RabbitMQ server is now fully configured and ready for use with the examples in the rest of this series. Next time I will show how to send messages to a RabbitMQ exchange from a plug-in using the RabbitMQ .Net client library. See you then!
A version of this post was originally published on the HP Enterprise Services Application Services blog.