Building a simple service relay for Dynamics 365 CE with RabbitMQ and Python - part 3
In my last post in this series, I walked through the prerequisites for building a simple service relay for Dynamics 365 CE with RabbitMQ and Python. In today’s post I will show the Python code to make the service relay work.
As I described in the first post in this series, this approach relies on a consumer process and a queue listener process that can both access a RabbitMQ message broker.
A consumer writes a request to a cloud-hosted RabbitMQ request queue (either directly or through a proxy service) and starts waiting for a response. On the other end, a Python script monitors the request queue for inbound requests. When it sees a new one, it executes the appropriate request through the Dynamics 365 Web API and writes the response back to a client-specific RabbitMQ response queue. The consumer then picks up the response from the queue.
This solution is based on the remote procedure call (RPC) approach shown here. The main difference is that I have added logic to the queue monitoring script to query the Dynamics 365 Web API based on the inbound request from the consumer.
####Consumer sample The consumer does the following:
- Read the text of the request to write to the queue from a command-line argument.
- Establish a connection to the RabbitMQ broker.
- Create a new anonymous, exclusive callback queue.
- Write a request message a queue called “rpc_queue.” This message will include the callback queue as its “reply_to” property.
- Monitor the callback queue for a response.
There’s no validation in this sample, so if you run it without a command-line argument, it will just throw an error and exit.
import sys
import pika
import uuid
import datetime

class CrmRpcClient(object):
    def __init__(self):
        #RabbitMQ connection details
        self.rabbituser = 'crmuser'
        self.rabbitpass = 'crmpass'
        self.rabbithost = '127.0.0.1'
        self.rabbitport = 5672
        self.rabbitqueue = 'rpc_queue'
        rabbitcredentials = pika.PlainCredentials(self.rabbituser, self.rabbitpass)
        rabbitparameters = pika.ConnectionParameters(host=self.rabbithost,
                                    port=self.rabbitport,
                                    virtual_host='/',
                                    credentials=rabbitcredentials)

                self.rabbitconn = pika.BlockingConnection(rabbitparameters)

        self.channel = self.rabbitconn.channel()

        #create an anonymous exclusive callback queue
        result = self.channel.queue_declare(exclusive=True)
        self.callback_queue = result.method.queue

        self.channel.basic_consume(self.on_response, no_ack=True,
                                   queue=self.callback_queue)

    #callback method for when a response is received - note the check for correlation id
    def on_response(self, ch, method, props, body):
        if self.corr_id == props.correlation_id:
            self.response = body

    #method to make the initial request
    def call(self, n):
        self.response = None
        #generate a new correlation id
        self.corr_id = str(uuid.uuid4())

        #publish the message to the rpc_queue - note the reply_to property is set to the callback queue from above
        self.channel.basic_publish(exchange='',
                                   routing_key=self.rabbitqueue,
                                   properties=pika.BasicProperties(
                                         reply_to = self.callback_queue,
                                         correlation_id = self.corr_id,
                                         ),
                                   body=n)
        while self.response is None:
            self.rabbitconn.process_data_events()
        return self.response

#instantiate an rpc client
crm_rpc = CrmRpcClient()

#read the request from the command line
request = sys.argv[1]

#make the request and get the response
print(" [x] Requesting crm data("+request+")")
print(" [.] Start time %s" % str(datetime.datetime.now()))
response = crm_rpc.call(request)

#convert the response message body from the queue to a string
decoderesponse = response.decode()

#print the output
print(" [.] Received response: %s" % decoderesponse)
print(" [.] End time %s" % str(datetime.datetime.now()))
####Queue listener sample The queue listener does the following:
- Establish a connection to the RabbitMQ broker
- Monitor “rpc_queue” queue.
- When a new message from the “rpc_queue” queue is delivered, decode the message body as a string, and determine what Web API query to execute. Note: This sample can return a list of contacts or accounts from Dynamics 365 CE based on the request the consumer sends (“getcontacts” or “getaccounts”). If any other request is received, the listener will return an error message to the consumer callback queue.
- Execute the appropriate query against the Dynamics 365 Web API and write the response to the callback queue the client established originally.
import pika
import requests
from requests_ntlm import HttpNtlmAuth
import json

#NTLM credentials to access on-prem Dynamics 365 Web API
username = 'DOMAIN\\USERNAME'
userpassword = 'PASSWORD'

#full path to Web API
crmwebapi = 'http://33.0.0.16/lucastest02/api/data/v8.1'

#RabbitMQ connection details
rabbituser = 'crmuser'
rabbitpass = 'crmpass'
rabbithost = '127.0.0.1'
rabbitport = 5672

#method to execute a Web API query based on the client request
def processquery(query):
    #set the Web API request headers
    crmrequestheaders = {
        'OData-MaxVersion': '4.0',
        'OData-Version': '4.0',
        'Accept': 'application/json',
        'Content-Type': 'application/json; charset=utf-8',
        'Prefer': 'odata.maxpagesize=500',
        'Prefer': 'odata.include-annotations=OData.Community.Display.V1.FormattedValue'
    }

    #determine which Web API query to execute
    if query == 'getcontacts':
        crmwebapiquery = '/contacts?$select=fullname,contactid'
    elif query == 'getaccounts':
        crmwebapiquery = '/accounts?$select=name,accountid'
    else:
        #only handle 'getcontacts' or 'getaccounts' requests
        return 'Operation not supported'

    #execute the query
    crmres = requests.get(crmwebapi+crmwebapiquery, headers=crmrequestheaders,auth=HttpNtlmAuth(username,userpassword))

    #get the results json
    crmjson = crmres.json()

    #return the json
    return crmjson

#method to handle new inbound requests
def on_request(ch, method, props, body):
    #convert the message body from the queue to a string
    decodebody = body.decode('utf-8')

    #print the request
    print(" [.] Received request: '%s'" % decodebody)

    #process the request query
    response = processquery(decodebody)

    #publish the response back to 'reply-to' queue from the request message and set the correlation id
    ch.basic_publish(exchange='',
                     routing_key=props.reply_to,
                     properties=pika.BasicProperties(correlation_id = \
                                                         props.correlation_id),
                     body=str(response).encode(encoding="utf-8", errors="strict"))
    ch.basic_ack(delivery_tag = method.delivery_tag)

print(" [x] Awaiting RPC requests")

#connect to RabbitMQ broker
rabbitcredentials = pika.PlainCredentials(rabbituser, rabbitpass)
rabbitparameters = pika.ConnectionParameters(host=rabbithost,
                               port=rabbitport,
                               virtual_host='/',
                               credentials=rabbitcredentials)
rabbitconn = pika.BlockingConnection(rabbitparameters)
channel = rabbitconn.channel()

#declare the 'rpc_queue' queue
channel.queue_declare(queue='rpc_queue')

#set qos settings for the channel
channel.basic_qos(prefetch_count=1)

#assign the 'on_request' method as a callback for when new messages delivered from the 'rpc_queue' queue
channel.basic_consume(on_request, queue='rpc_queue')

#start listening for requests
channel.start_consuming()
####Trying it out As I mentioned in my last post, I initially wrote my code to use a RabbitMQ broker running on my local PC, so that’s why the connections in the samples show 127.0.0.1 as the host. For a demo, I’ve spun up a copy of RabbitMQ in a Docker container in the cloud and updated my connection parameters accordingly, but I am still running my queue listener and consumer processes on my local PC.
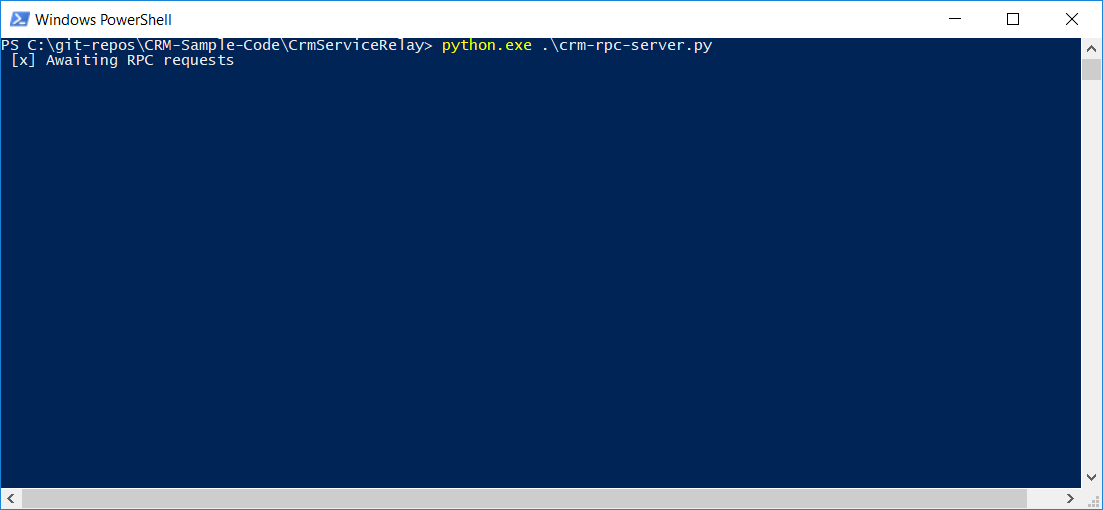
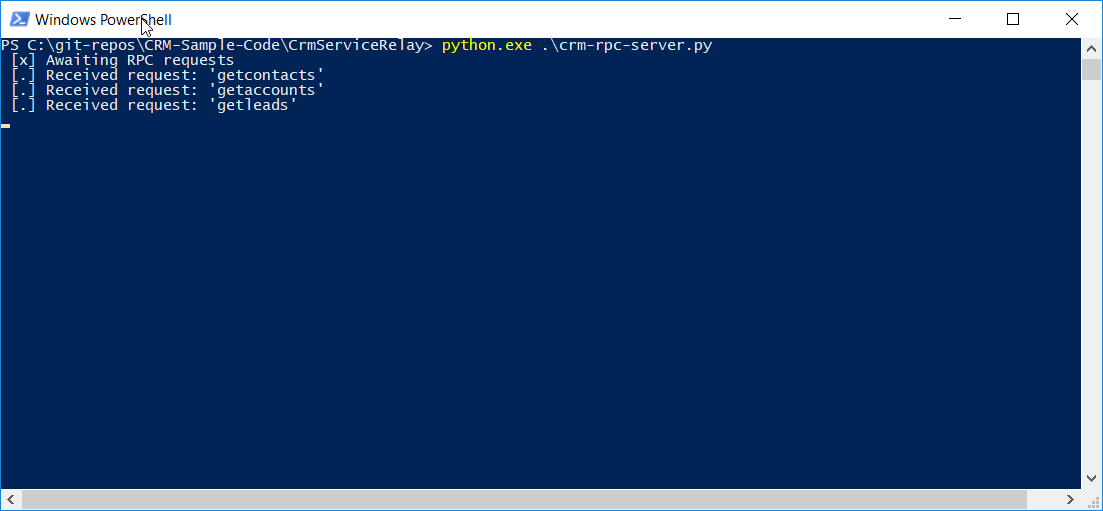
When the listener first starts, it displays a simple status message.
Then I execute a “getcontacts” request from the consumer in a separate window.
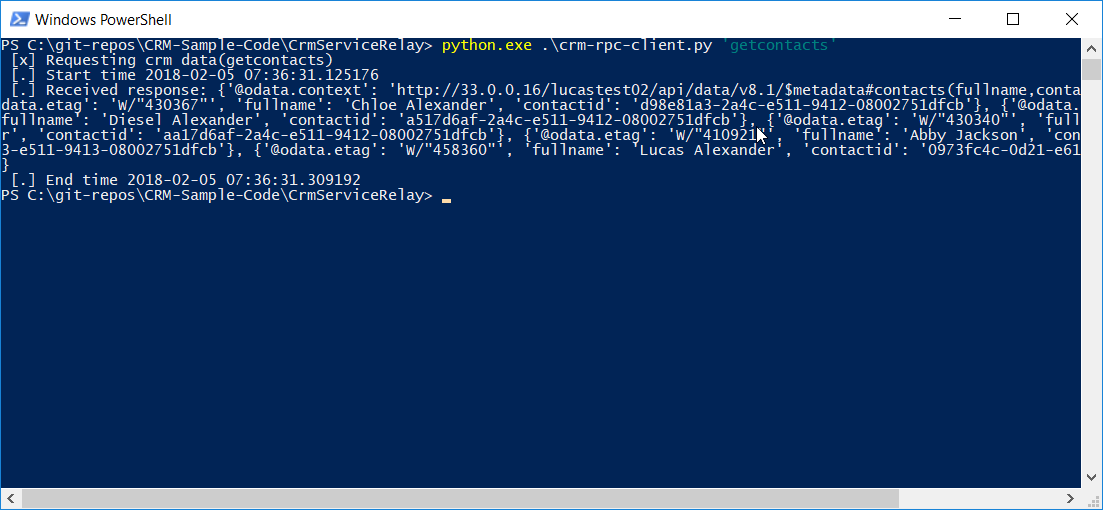
From the timestamps before and after the request, you can see the round-trip time is less than .2 seconds, which includes two round trips between my local PC and the cloud-based RabbitMQ broker plus the actual query processing time in my local Dynamics 365 CE org.
Then I execute a “getaccounts” request.
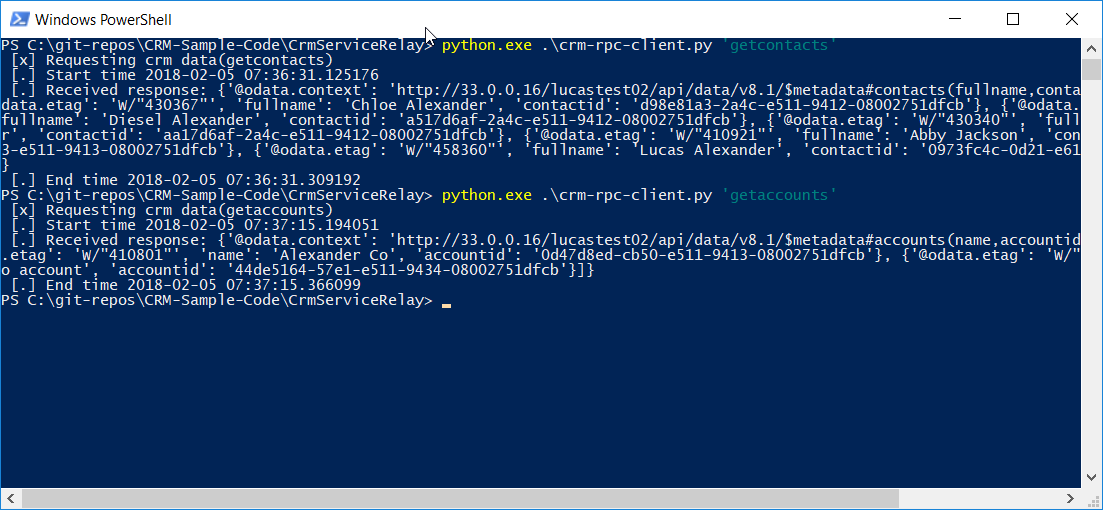
This request was also fulfilled in less than .2 seconds.
Finally I execute an invalid request to show what the error response looks like.
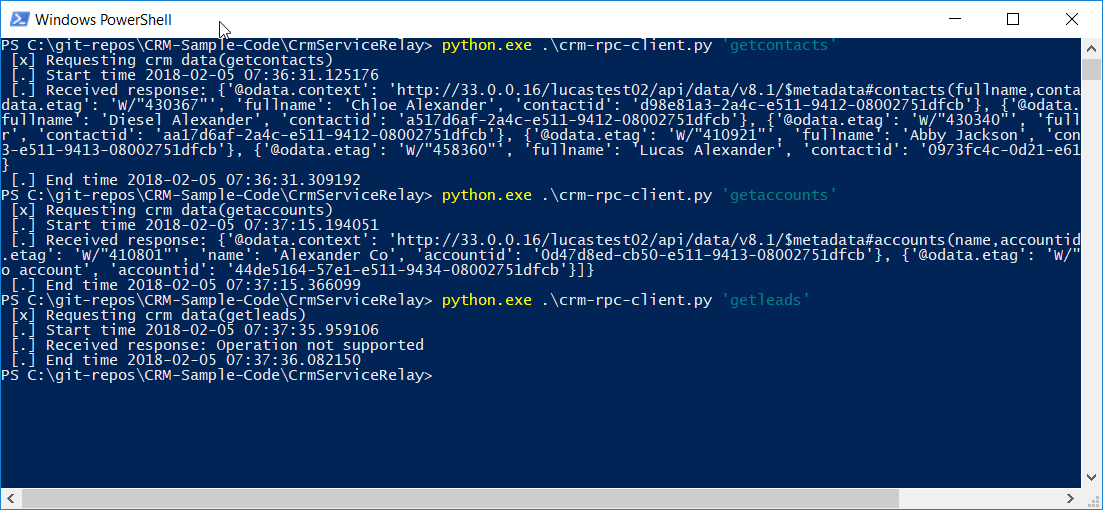
You’ll note the total time from request to response is only about .05 seconds less than the total time for the valid queries. That indicates most of the time used in these samples is being spent on the round trips between my local PC and the RabbitMQ broker, which is not surprising.
Meanwhile, the queue listener wrote a simple status update for every request it received. If I were using this in production, I would use more sophisticated logging.
####Wrapping up That’s it for now. In my next (and final) post in this series, I will show how you can use Azure Functions to make a consumer service proxy so consuming applications don’t have to access to your RabbitMQ broker directly, and I will also discuss some general thoughts on security and scalability for the service .