Installing and securing OpenFaaS on a Google Cloud virtual machine
Here is a step-by-step guide that shows how to install OpenFaaS on a new Google Cloud Platform virtual machine instance running Ubuntu Linux and how to secure it with Nginx as a reverse proxy using basic authentication and free SSL/TLS certificates from Let’s Encrypt.
As you look at this guide, here are a few things to keep in mind:
- With the exception of a few steps at the beginning that are specific to using Google Cloud, this guide will work for (probably) any cloud hosting provider.
- In order to secure your OpenFaaS installation with SSL/TLS, you will need a domain and access to your DNS provider so you can point your domain to your virtual machine instance’s IP address.
- Although OpenFaaS runs on Docker, this guide shows how to install Nginx as a service directly on the virtual machine instance instead of in a container. There’s no reason you couldn’t use a containerized Nginx proxy if you want.
- If you’re comfortable with Kubernetes (I am not yet), you might want to look at running OpenFaaS on Google Kubernetes Engine instead of setting things up the way I do here.
- Finally, if you just want to get started playing around with OpenFaaS locally, there’s no need to set up a reverse proxy. Instead you can just install OpenFaaS in your local environment and access it directly.
####Provisioning the virtual machine instance Although my day job keeps me focused on the Microsoft/Azure stack, and I’ve recently started using Digital Ocean as my personal blog host, I decided to use Google Cloud as my OpenFaaS host because Google was offering $300 in trial credits. Once you have a Google Cloud Platform account, setting up a virtual machine instance is easy.
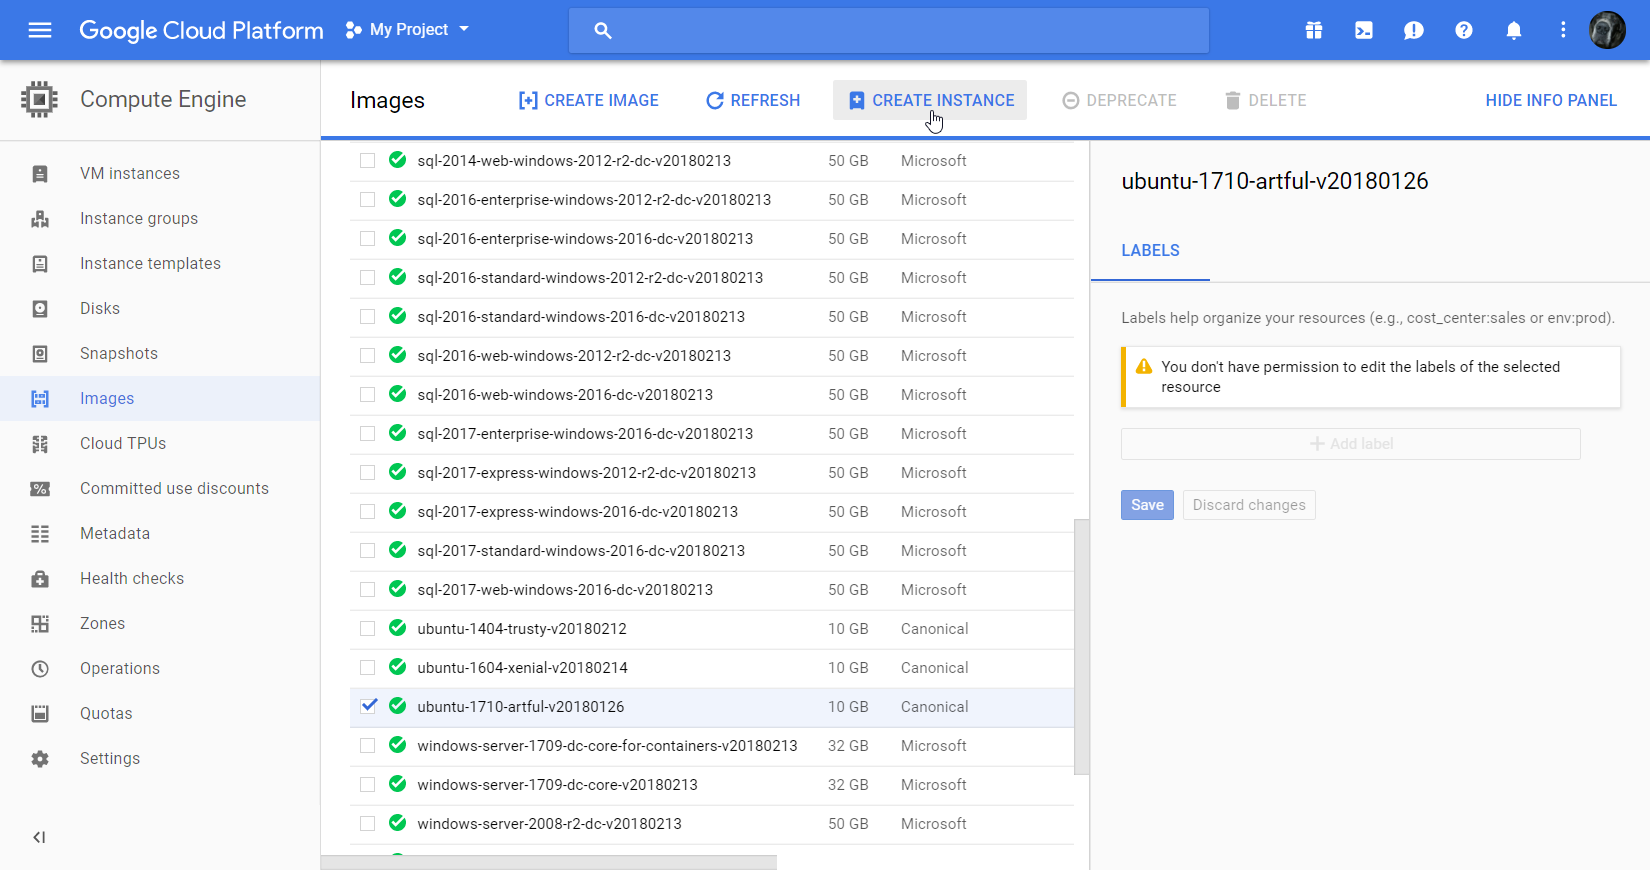
- From your project dashboard, go to Compute Engine->Images.
- Select the Ubuntu 17.10 image and click “create instance.”
- On the create instance screen, fill out the necessary details. I am using a “small” instance for this demo.
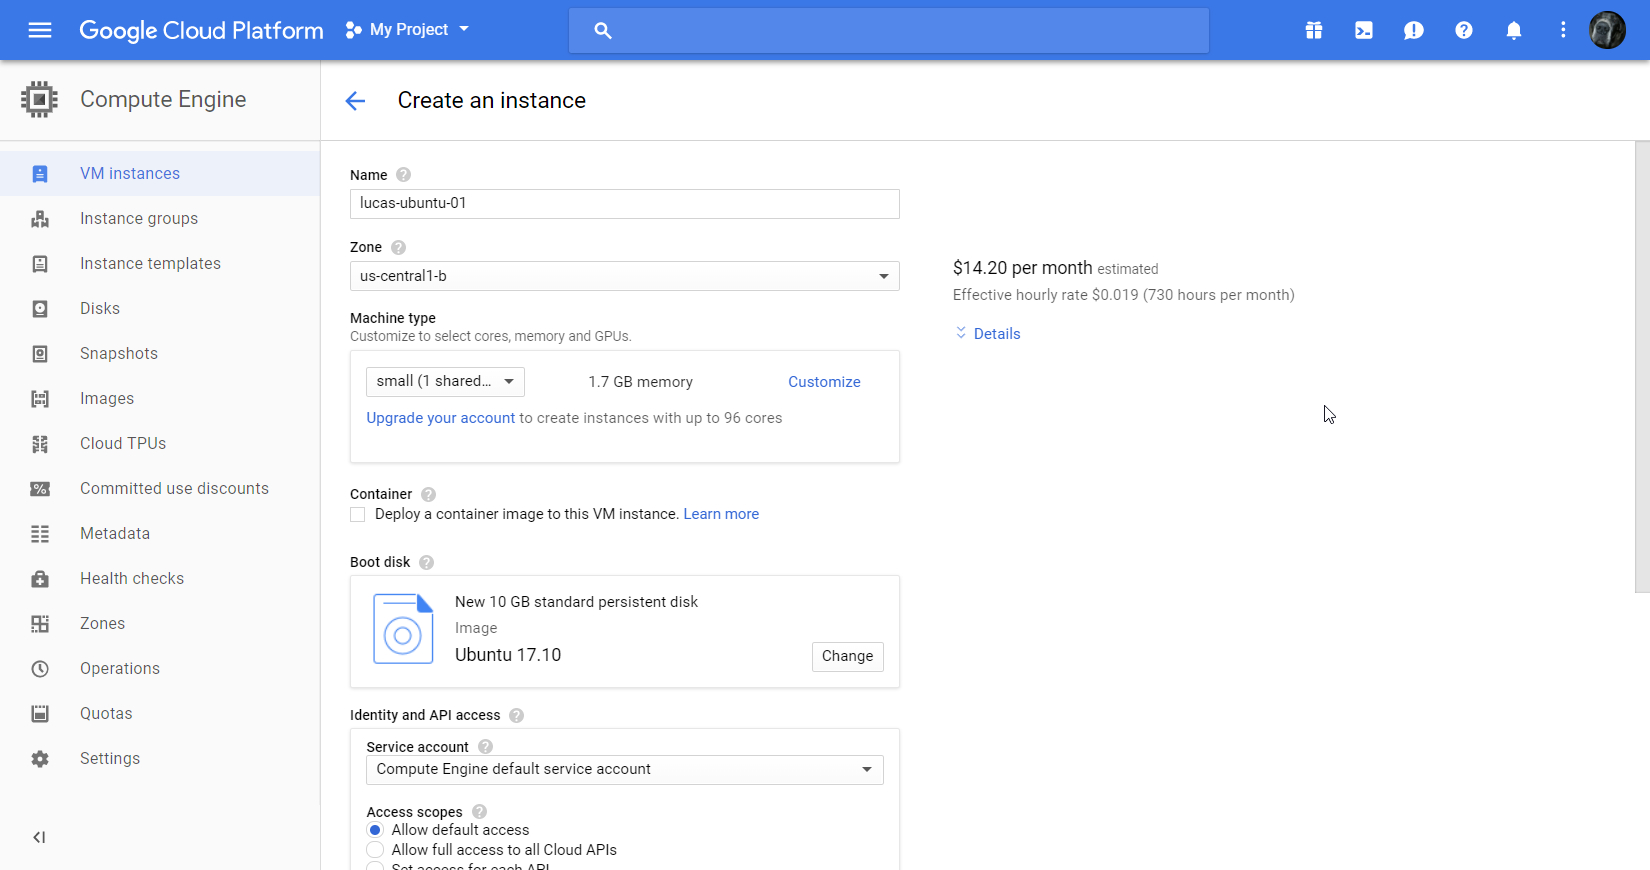
Make sure you open HTTP and HTTPS connections to the instance.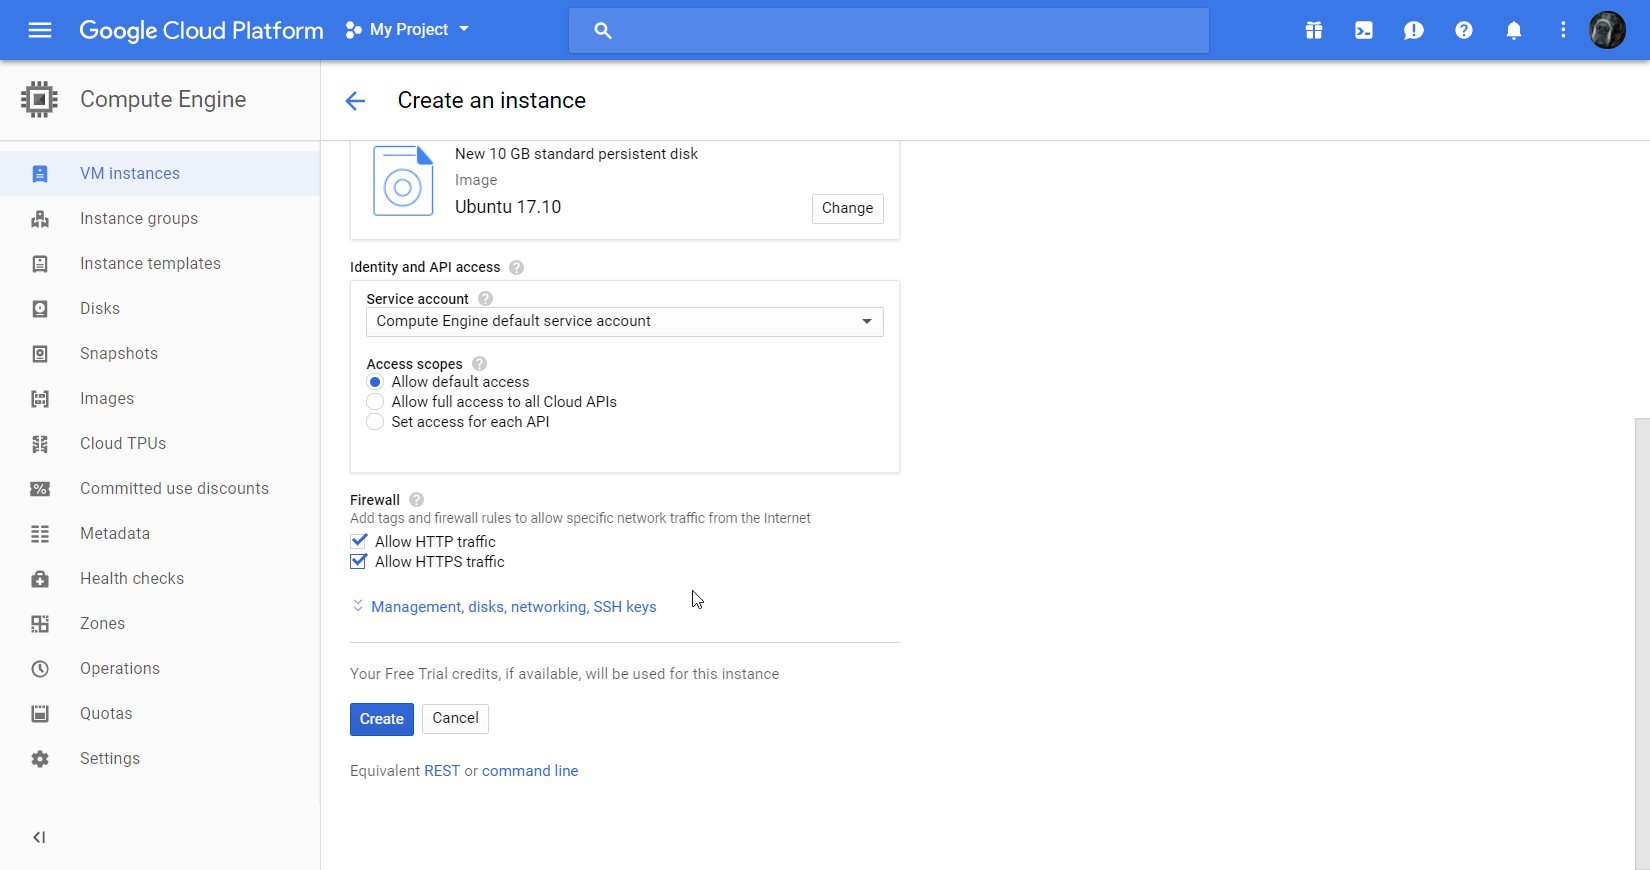
- Once the instance is created, follow the steps here to reserve a static external IP address: https://cloud.google.com/compute/docs/ip-addresses/reserve-static-external-ip-address#reserve_new_static
- Then follow these steps to assign the static external IP to your new instance: https://cloud.google.com/compute/docs/ip-addresses/reserve-static-external-ip-address#IP_assign
- Finally you need to go to your DNS provider and register a new A record for your domain that points to the external IP you reserved in the previous step. (I am using faas.alexanderdevelopment.net.) While you’re at it, you may want to create a new CAA record to explicitly allow Let’s Encrypt to issue certificates for your domain.
####Installing Docker and initializing your swarm At this point you should have a virtual machine instance with a static IP address and ports 80 and 443 open, and your domain should also be pointing to the static IP address.
Now it’s time to install Docker. Out of the box, OpenFaaS runs on top of either Docker Swarm or Kubernetes. To keep things simple, I am using Docker Swarm.
- SSH to your instance. You can do this directly through the VM instance details page.
- Run the following command to update your repository package lists:
sudo apt-get update. - Install Docker by following the steps here: https://docs.docker.com/install/linux/docker-ce/ubuntu/.
- To initialize your Docker swarm, first run
ifconfigto see what network interfaces you have available to use for the advertise-addr parameter when you initialize the swarm. This address is what other nodes in the swarm will use to connect if you add more. In my case (and probably in yours, too, if you are using Google Cloud), “ens4” is the correct interface. - Finally, initialize the swarm with this command:
sudo docker swarm init --advertise-addr ens4. If necessary replace the “ens4” with whatever value is correct for you. Here’s what this looks like on my instance: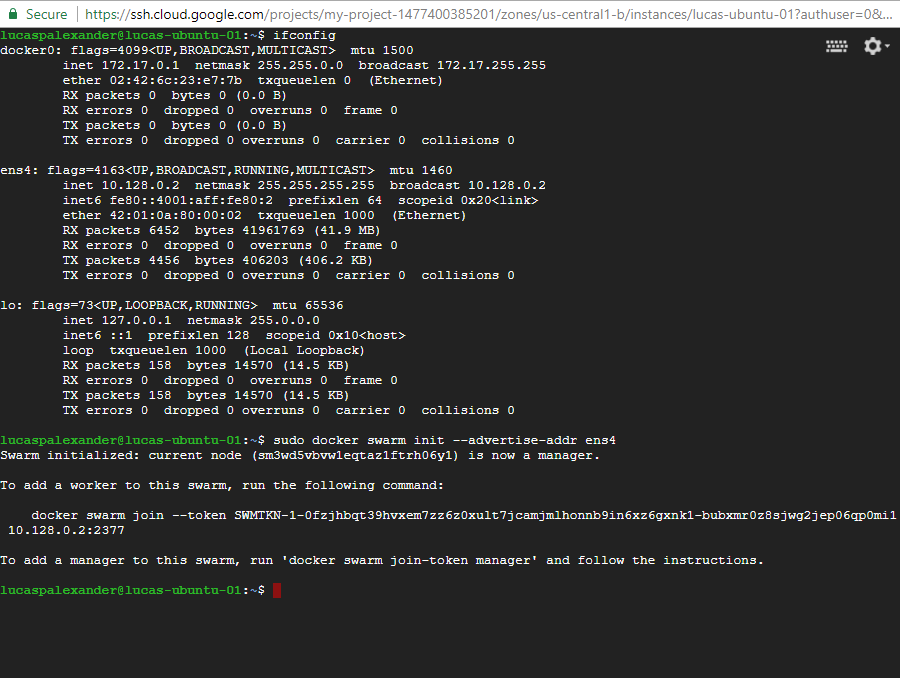
####Installing OpenFaaS After your swarm is initialized, installing OpenFaaS is easy. Just run these commands to get the latest copy of OpenFaaS from GitHub:
git clone https://github.com/openfaas/faas
cd faas
git checkout -
sudo ./deploy_stack.sh
At this point OpenFaaS is running and listening on port 8080, but you can’t connect to it remotely because the default firewall rules only allow traffic on ports 80 and 443. Now you need to install a reverse proxy to route requests from the public internet to OpenFaaS.
####Basic Nginx configuration Although I’ve read about using a number of different reverse proxies with OpenFaaS, such as Kong, Traefik and Caddy, I decided to use Nginx for this guide because I’ve used it previously with other projects, and it’s relatively easy to configure it to handle basic authentication, HTTPS and rate limiting.
- Install Nginx by running this command:
sudo apt-get install nginx. Assuming all the steps to this point were successful, you should now be able to navigate to your domain in your browser and see the default “Welcome to nginx!” page.
- Now you need to update the Nginx configuration to use a non-default site and directory for hosting pages. Although we’re going to mainly use Nginx as a reverse proxy for connections to OpenFaaS, it will need to be able to serve pages to respond to validation challenges from Let’s Encrypt so that you can get your certificates.
- Create a new directory for your domain. Mine is /var/www/faas.alexanderdevelopment.net.
- Create a basic hello world index.html page in this directory.
- Update the content of your Nginx config file (/etc/nginx/sites-available/default) with the following, replacing the “faas.alexanderdevelopmen.net” entries with the correct falues for your domain and directory:
server {
        listen 80;

        server_name faas.alexanderdevelopment.net;

        root /var/www/faas.alexanderdevelopment.net;
        index index.html;

        location / {
                try_files $uri $uri/ =404;
        }
}
- Reload your Nginx configuration with this command
service nginx reload. - Refresh the browser window you opened earlier to verify the new test page is loaded.
####Basic authentication OpenFaaS has no built-in authentication mechanism, but you can use basic authentication in Nginx to only allow access to the admin areas of OpenFaaS to authenticated users. These next two steps will show you how to create an .htpasswd file that Nginx can use to authenticate and authorize users.
- Install apache2-utils
sudo apt-get install apache2-utils. - Create the .htpasswd file and add a user named “adminuser” with this command
sudo htpasswd -c /etc/nginx/.htpasswd adminuser. You can run the htpasswd command again if you want to create additional users.
####Securing your endpoint with Let’s Encrypt Now it’s time to get a certificate from Let’s Encrypt. We’ll be using the Certbot tool to automatically obtain a certificate and update the Nginx configuration to use HTTPS.
- Add the Certbot repository to your instance
sudo add-apt-repository ppa:certbot/certbot. - Update your repository package lists
sudo apt update. - Get the Certbot tool
sudo apt-get install python-certbot-nginx.
Let’s Encrypt limits the number of requests you can make against its production environment, so it’s best to verify your configuration against the Let’s Encrypt staging environment first. The staging environment will generate a certificate, but you’ll get a certificate warning when you try to access your site, so you’ll want to update your configuration to use a production certificate after you’re sure everything works.
- Run this command to request a test certificate
sudo certbot --authenticator webroot --installer nginx --test-cert. The first time you run the tool, you will be asked for your email and if you agree to the terms and conditions. After that, follow the prompts, and make sure you select the option to redirect all traffic to HTTPS in the final step. Here’s what it looks like for me: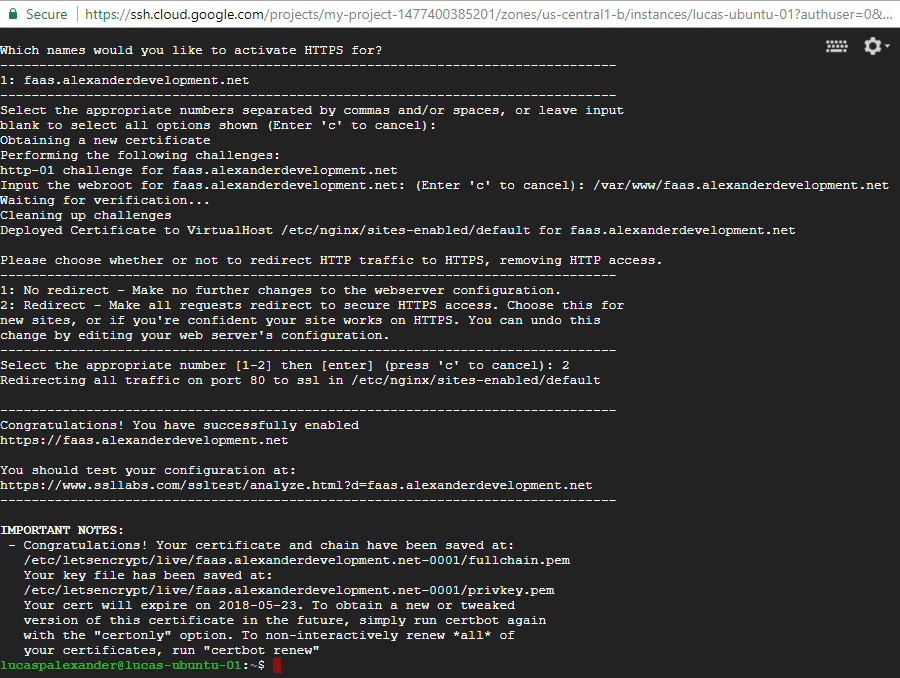
- Now you should be able to navigate to your domain’s test index page using HTTPS to verify everything worked.
- If you reopen your Nginx configuration file, you’ll see that Certbot has added some sections as indicated by the “managed by Certbot” comments.

####Updating the Nginx configuration to work with OpenFaaS Now that your Nginx server is able to handle HTTPS traffic, you need to update your Nginx configuration to set up the reverse proxy to OpenFaaS. At this point you’ll also want to enable the basic authentication for the admin areas of the OpenFaaS user interface, and you’ll need to make a small change to the HTTP->HTTPS redirect that Certbot set up previously so that you can request a production certificate from Let’s Encrypt later.
Replace the contents of your Nginx configuration file with the following, again replacing the “faas.alexanderdevelopment.net” entries with the correct values for your domain and root directory:
server {
        server_name faas.alexanderdevelopment.net;

        root /var/www/faas.alexanderdevelopment.net;
        index index.html;

        #serve acme challange files from actual directory
        location /.well-known {
                try_files $uri $uri/ =404;
        }

        #reverse proxy all "function" requests to openfaas and require no authentication
        location /function {
                proxy_pass      http://127.0.0.1:8080/function;
                proxy_set_header    X-Real-IP $remote_addr;
                proxy_set_header    Host      $http_host;
                proxy_set_header X-Forwarded-Proto https;
                proxy_set_header X-Forwarded-For $proxy_add_x_forwarded_for;
        }

        #reverse proxy everthing else to openfaas and require basic authentication
        location / {
                proxy_pass      http://127.0.0.1:8080;
                proxy_set_header    X-Real-IP $remote_addr;
                proxy_set_header    Host      $http_host;
                proxy_set_header X-Forwarded-Proto https;
                proxy_set_header X-Forwarded-For $proxy_add_x_forwarded_for;
                auth_basic "Restricted";
                auth_basic_user_file /etc/nginx/.htpasswd;
        }

    listen 443 ssl; # managed by Certbot
    ssl_certificate /etc/letsencrypt/live/faas.alexanderdevelopment.net-0001/fullchain.pem; # managed by Certbot
    ssl_certificate_key /etc/letsencrypt/live/faas.alexanderdevelopment.net-0001/privkey.pem; # managed by Certbot
    include /etc/letsencrypt/options-ssl-nginx.conf; # managed by Certbot
    ssl_dhparam /etc/letsencrypt/ssl-dhparams.pem; # managed by Certbot
}

#this block redirects all non-ssl traffic to the ssl version
server {
        listen 80;

        server_name faas.alexanderdevelopment.net;
        root /var/www/faas.alexanderdevelopment.net;

        #serve acme challange files from actual directory
        location /.well-known {
                try_files $uri $uri/ =404;
        }

        #redirect anything other than challenges to https
        location / {
                return 301 https://$host$request_uri;
        }
}
A few notes on this configuration:
- The HTTP server section (starting on line 40) has been updated to not redirect requests to the “/.well-known” directory to HTTPS. With the 301 redirect in place for all requests, Certbot would return validation errors when I attempted to change over from my test certificate to a production certificate.
- Basic authentication is enabled for all requests to the site except for the “/.well-known” directory and the “/functions” directory (see lines 28 and 29). The “/.well-known” directory needs to be accessible without authentication to handle Let’s Encrypt validation requests, and the “/functions” directory has been left open with the assumption that you’ll use some sort of API key mechanism for authenticating to your functions. If your function clients support passing basic auth credentials, you can secure the “/functions” directory with basic auth, too.
- This configuration does not expose the Prometheus monitoring UI on port 9090 that is installed with OpenFaaS.
One you update your configuration and reload Nginx, you should be able to test one of the default included functions with curl.  You’ll note that I have passed the “-k” flag to curl to disable certificate validation.
You should also be able to navigate to the OpenFaaS admin user interface by going to https://YOUR_DOMAIN_HERE/ui/. You will be prompted for credentials and presented with a warning about the certificate. If you use the “adminuser” credentials you created earlier and acknowledge the warning/continue, you will see the OpenFaaS main user interface screen.
####Getting a production certificate If you’ve gotten to this point and everything works, you’re ready to switch over from using a test SSL/TLS certificate to using a production certificate.
- Run Certbot without the –test-cert flag
sudo certbot --authenticator webroot --installer nginx. - Select the option to renew and replace the existing certificate.
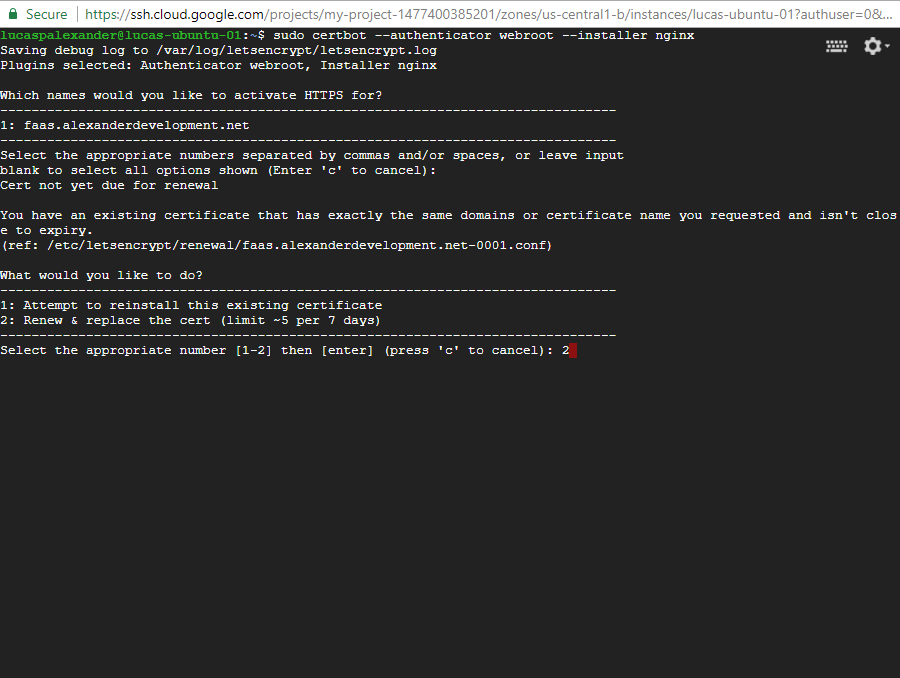
- Follow the rest of the prompts like when you requested the test certificate, except when you get to the final step, instead of selecting the option to redirect all traffic, select option “1: No redirect.”
- Close all your open browser windows and verify you can browse to the OpenFaaS UI by going to https://YOUR_DOMAIN_HERE/ui/. You should be prompted for credentials again, but this time you should not see any certificate warnings.

You can also try running one of the default functions through Postman to validate you receive no certificate errors.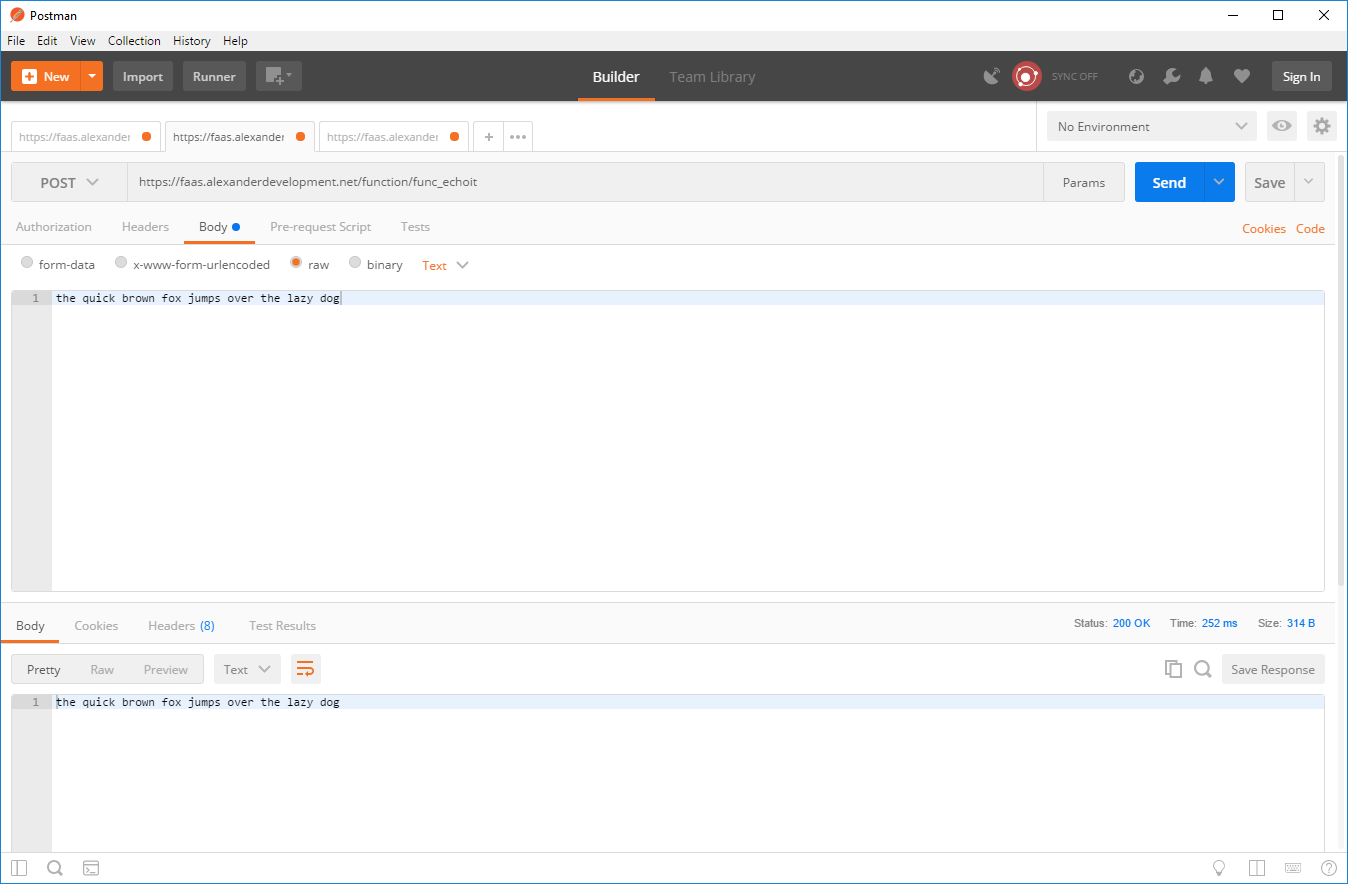
####Wrapping up At this point you have a secure OpenFaaS server, but there are still a few things you should do.
- Back up your Nginx configuration, htpasswd file and certificates.
- Remove the default functions because they are not protected by an API key, and they are runnable by anyone who can access your “/functions” directory, which, if you use my configuration, is actually anyone.
- Set up rate limiting for the Nginx server.
- Schedule automated certificate renewals using cron.
- Get started writing functions and have fun!